

If you’re learning LangGraph or exploring more about it then it’s nice to know about the pre-built node-level caching in LangGraph. Caching not only eliminates unnecessary computation but also fastens the latency. We’ll be looking at the implementation of the same in the article. It’s assumed that you have an idea about agents and nodes in LangGraph as we won’t be focusing on that side of the story, so without any further ado let’s walk into the concepts and implementation.
What is Caching?
Caching stores data in temporary storage so the system can retrieve it quickly. In the context of LLMs and AI Agents, it saves earlier requests and reuses them when the same prompts are sent to the model or agent. Because it’s not a new request, the system doesn’t charge for it, and the response arrives faster due to the temporary memory. When part of a prompt stays the same, the system reuses the previous response and generates a new one only for the additional part, which significantly reduces costs even for new requests.
Caching parameters and memory
It’s important to know about the ttl (time to live) parameter which is used to define the amount of time (in seconds) the cache will remain in the memory. If we set ttl=None or leave it as it is then the cache will never leave the memory.
We need to specify a cache when compiling a graph. We’ll use InMemoryCache to store the node’s inputs and outputs that can be used later to retrieve the node’s previous response in this article. Alternatively, you can implement SqliteCache, redisCache or custom cache as well depending on the needs.
Caching in Action
Let’s implement Node-level-caching for a function that helps convert celsius to fahrenheit.
Step 1: Installations
!pip install langgraph Step 2: Defining the Graph
We’ll first define the graph structure and a simple function that simulates a slow computation using time.sleep() to make the caching effect visible.
import time

from typing_extensions import TypedDict

from langgraph.graph import StateGraph

from langgraph.cache.memory import InMemoryCache

from langgraph.types import CachePolicy

class State(TypedDict):

   celsius: float

   fahrenheit: float

builder = StateGraph(State)

def convert_temperature(state: State) -> dict[str, float]:

   time.sleep(2)

   fahrenheit = (state['celsius'] * 9/5) + 32

   return {"fahrenheit": fahrenheit}

builder.add_node("convert_temperature", convert_temperature, cache_policy=CachePolicy(ttl=None))

builder.set_entry_point("convert_temperature")

builder.set_finish_point("convert_temperature")

cache=InMemoryCache()

graph = builder.compile(cache=cache)
Step 3: Invoking the Graph
Now, let’s invoke the graph multiple times and observe how the cache behaves.
print(graph.invoke({"celsius": 25}))

print(graph.invoke({"celsius": 25}, stream_mode="updates"))  # Cached

print(graph.invoke({"celsius": 36}, stream_mode="updates"))

time.sleep(10)

print(graph.invoke({"celsius": 36}, stream_mode="updates"))

cache.clear() # clears the entire cache
Output
{'celsius': 25, 'fahrenheit': 77.0} [{'convert_temperature': {'fahrenheit': 77.0}, '__metadata__': {'cached': True}}] [{'convert_temperature': {'fahrenheit': 96.8}}] [{'convert_temperature': {'fahrenheit': 96.8}}]
The system fetches the response from the cache on the first repeated request and the TTL is set to 5 seconds. It treats the next repeated request as a new one when the gap exceeds the TTL. We used cache.clear() to clear the entire cache, this is useful when we set ttl=None.
Now, let’s implement the caching for node with an agent.
Prerequisites: Caching for Node with an Agent
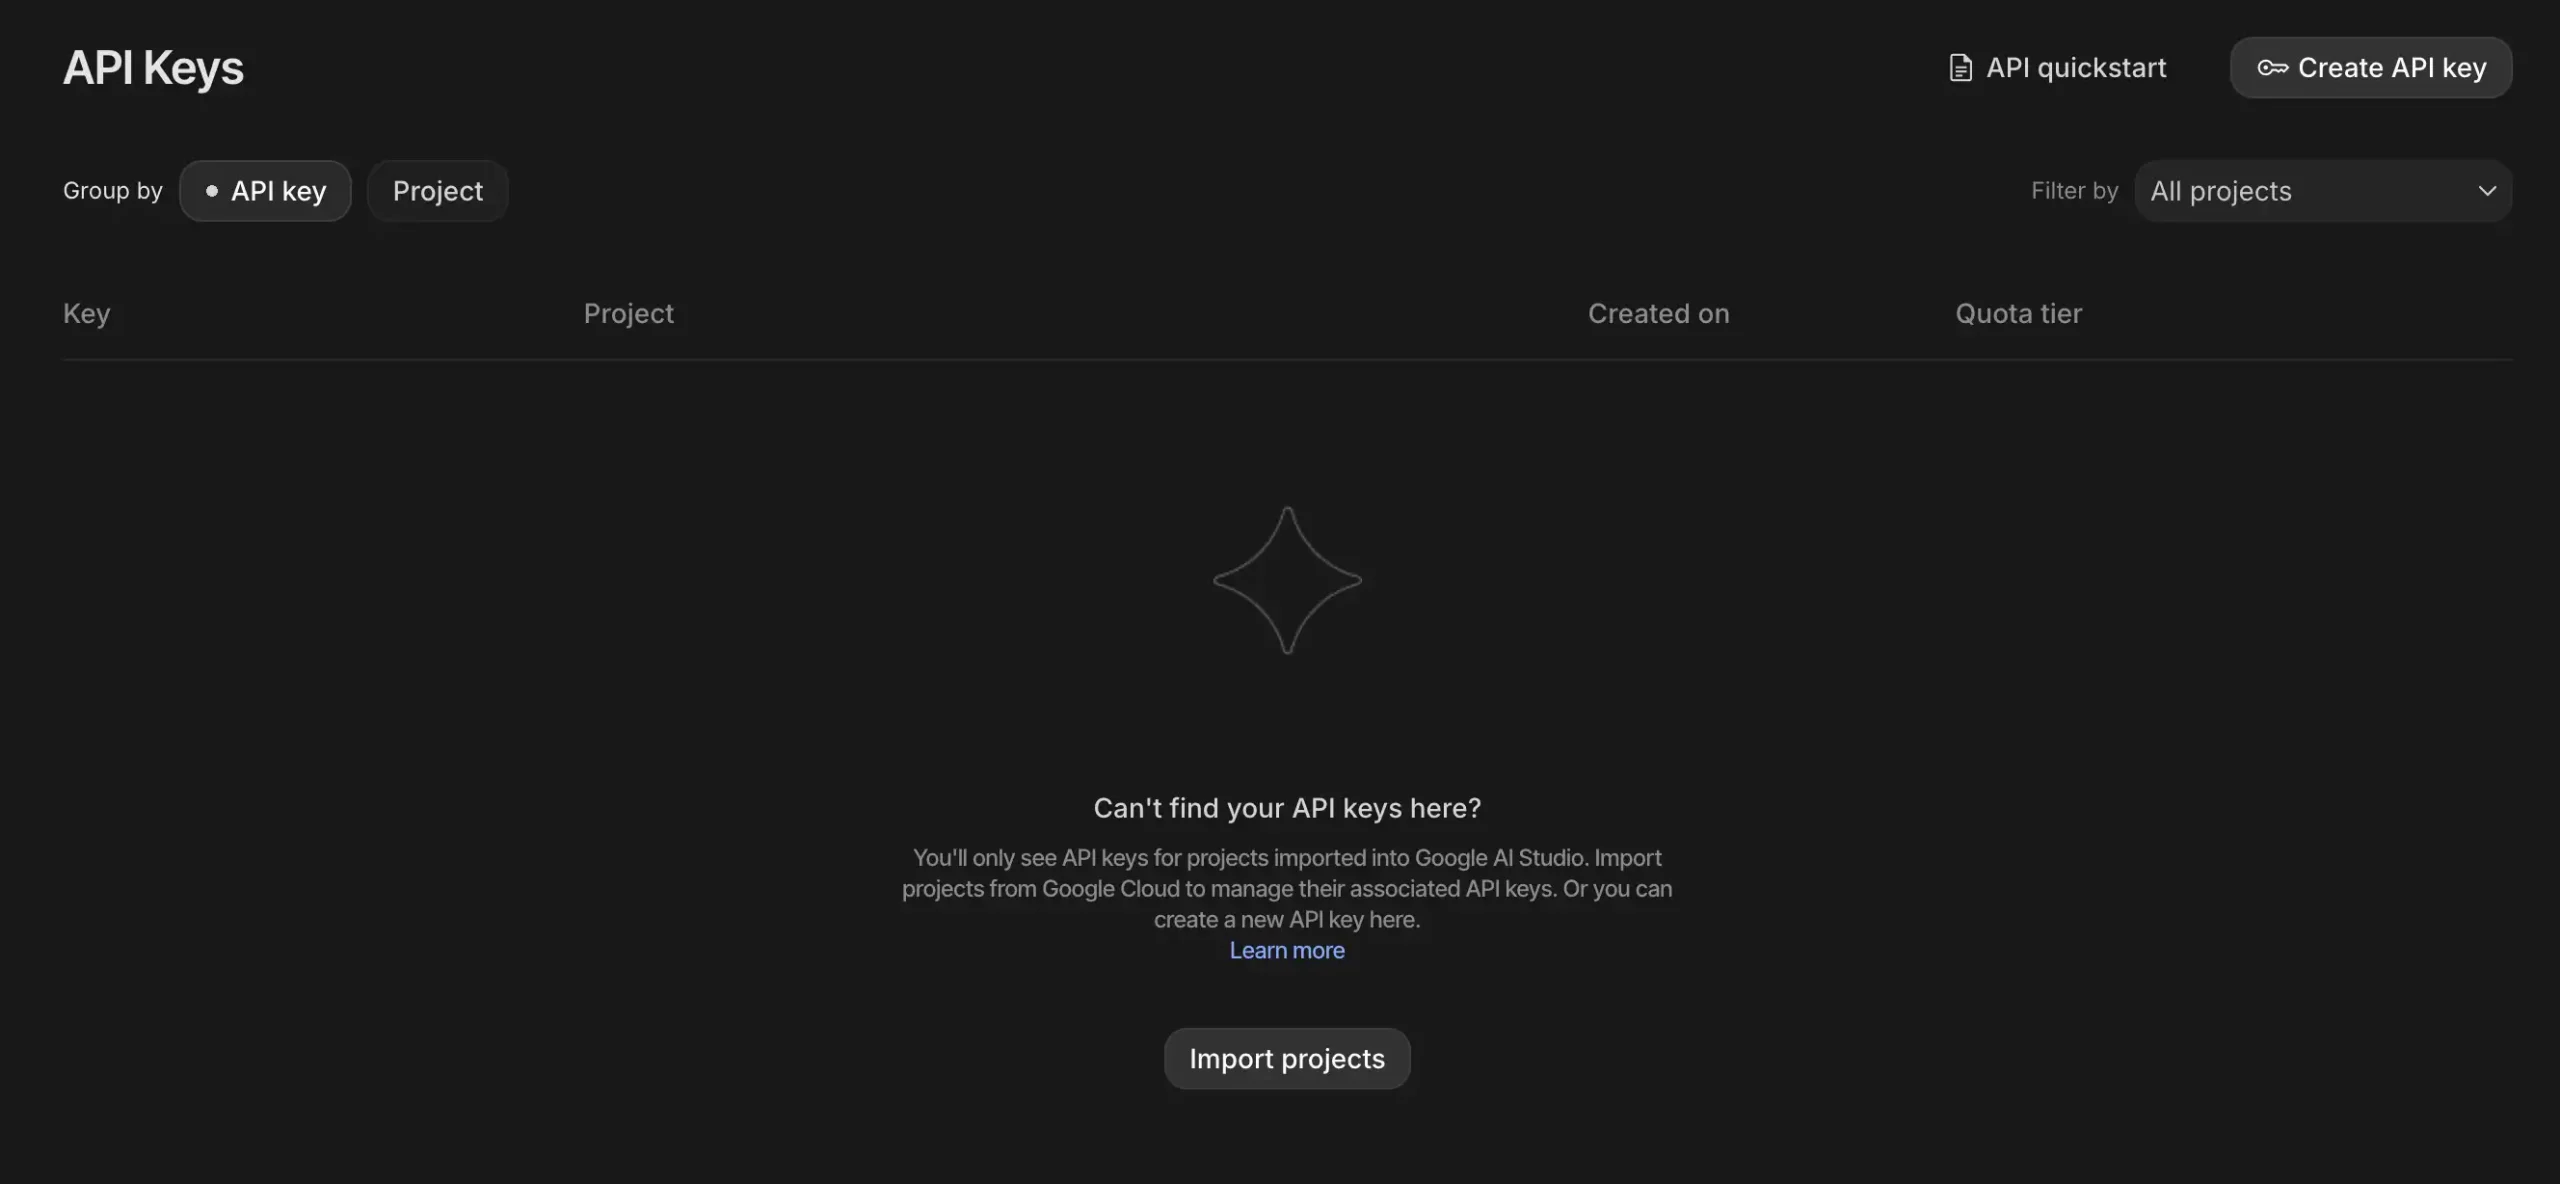
We’ll need a Gemini API key to use Gemini models in the agent, visit Google AI Studio to get your API key: https://aistudio.google.com/api-keys
Installations
The langchain_google_genai module will help us integrate the Gemini models in the node.
!pip install langgraph langchain_google_genai Agent definition
Let’s define a simple math agent that has access to the calculator tool and we’ll set the ttl=None for now.
from langgraph.prebuilt import create_react_agent

from langchain_google_genai import ChatGoogleGenerativeAI

def solve_math_problem(expression: str) -> str:

   """Solve a math problem."""

   try:

       # Evaluate the mathematical expression

       result = eval(expression, {"__builtins__": {}})

       return f"The answer is {result}."

   except Exception:

       return "I couldn't solve that expression."

# Initialize the Gemini model with API key

model = ChatGoogleGenerativeAI(

   model="gemini-2.5-flash",

   google_api_key=GOOGLE_API_KEY

)

# Create the agent

agent = create_react_agent(

   model=model,

   tools=[solve_math_problem],

   prompt=(

       "You are a Math Tutor AI. "

       "When a user asks a math question, reason through the steps clearly "

       "and use the tool `solve_math_problem` for numeric calculations. "

       "Always explain your reasoning before giving the final answer."

   ),

)
Defining the node
Next, we’ll wrap the agent inside a LangGraph node and attach caching to it.
import time

from typing_extensions import TypedDict

from langgraph.graph import StateGraph

from langgraph.cache.memory import InMemoryCache

from langgraph.types import CachePolicy

class AgentState(TypedDict):

   prompt: str

   response: str

builder = StateGraph(AgentState)

def run_agent(state: AgentState) -> AgentState:

   print("Running agent...")  # this line helps show caching behavior

   response = agent.invoke({"messages": [{"role": "user", "content": state["prompt"]}]})

   return {"response": response}

builder.add_node("run_agent", run_agent, cache_policy=CachePolicy(ttl=None))

builder.set_entry_point("run_agent")

builder.set_finish_point("run_agent")

graph = builder.compile(cache=InMemoryCache())
Invoking the agent
Finally, let’s call the agent twice to see caching in action.
# Invoke graph twice to see caching

print("First call")

result1 = graph.invoke({"prompt": "What is (12 + 8) * 3?"},stream_mode="updates")

print(result1)

print("Second call (should be cached)")

result2 = graph.invoke({"prompt": "What is (12 + 8) * 3?"},stream_mode="updates")

print(result2)
Output:

Notice how the second call doesn’t have ‘Running agent..’ which is a print statement in the node. So we managed to get the response from the agent without running the agent using the cache memory.
Conclusion
LangGraph’s built-in node-level caching provides a simple yet powerful way to reduce latency and computation by reusing previous results. With parameters like ttl to manage cache lifetime and options such as InMemoryCache, SqliteCache, or RedisCache, it offers flexibility based on use cases. Through examples like temperature conversion to agent-based nodes! We saw how caching avoids redundant execution and saves cost. Overall, caching in LangGraph greatly improves efficiency, making workflows faster and more optimized.
Frequently Asked Questions
A. The key_func parameter defines how LangGraph generates a unique cache key for each node’s input. By default, it uses the node’s input values to create this key. You can override it to customize caching behavior. For example, to ignore specific fields or normalize inputs before comparison.
A. You can manually clear the cache anytime using cache.clear(). This removes all stored node responses, forcing LangGraph to re-execute the nodes on the next call. It’s useful during debugging, when working with dynamic inputs, or when the cached data becomes outdated.
A. Yes, each node can have its own CachePolicy with a custom ttl value. This allows you to cache heavy or slow computations longer while keeping frequently changing nodes fresh. Fine-tuning TTL values helps balance performance, accuracy, and memory efficiency in large graphs.
Passionate about technology and innovation, a graduate of Vellore Institute of Technology. Currently working as a Data Science Trainee, focusing on Data Science. Deeply interested in Deep Learning and Generative AI, eager to explore cutting-edge techniques to solve complex problems and create impactful solutions.
Login to continue reading and enjoy expert-curated content.
Source link


Add comment